Important Notes:
- Group, Meeting, and Topic-specific files are stored separately. For instructions for adding or deleting a Topic-specific file, click here.
- When adding/uploading a file, the file will be added to the currently accessed folder. If a file is added to the top level (no folder) or is added to the wrong folder, the file can be easily moved to the correct folder after it is uploaded.
A. Adding a File to a Group:
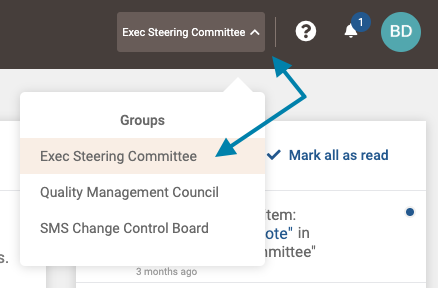
- First, access the group page related to the group file(s) you wish to add a file to by clicking on the Groups list drop down in the upper right areas of the application, and clicking on the desired group.
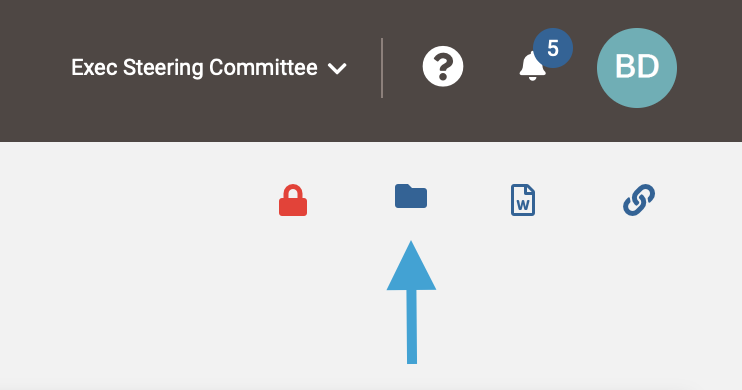
- Next, click the folder icon in the upper right corner of the Group page.
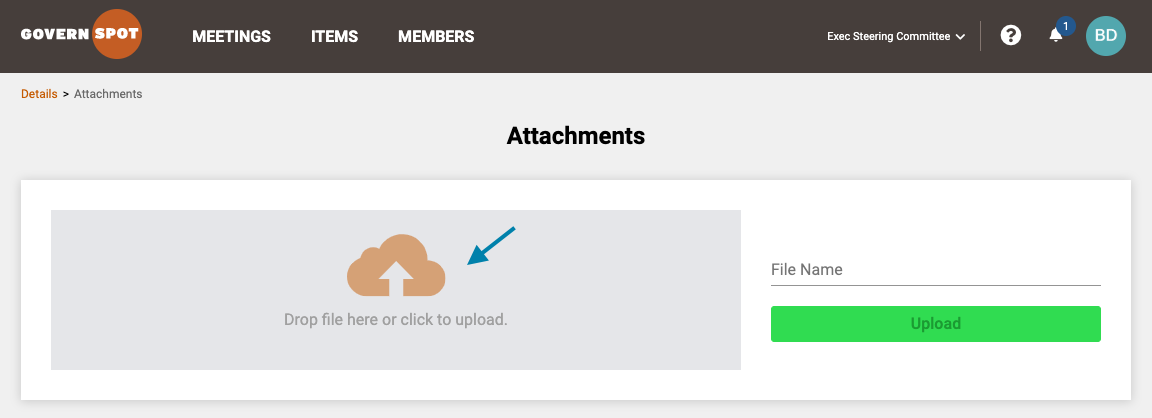
- Next, drag the file from any folder to the orange upload icon, or click on the upload icon to open a dialogue to to select a file.
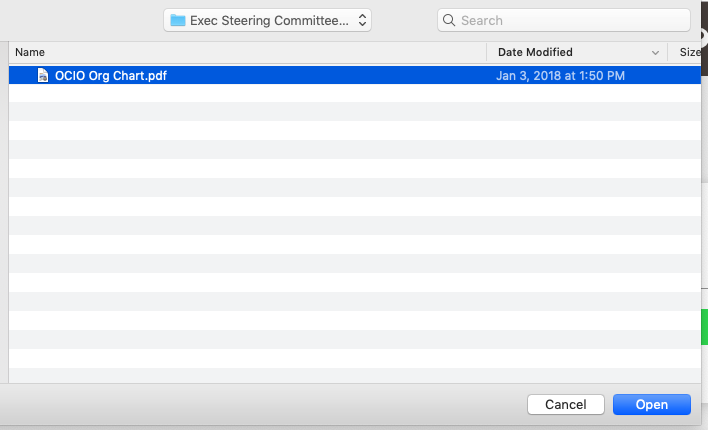
- Next, select a file from the 'Select File' menu (may vary based on operating system) and click the 'Open' button (or equivalent).
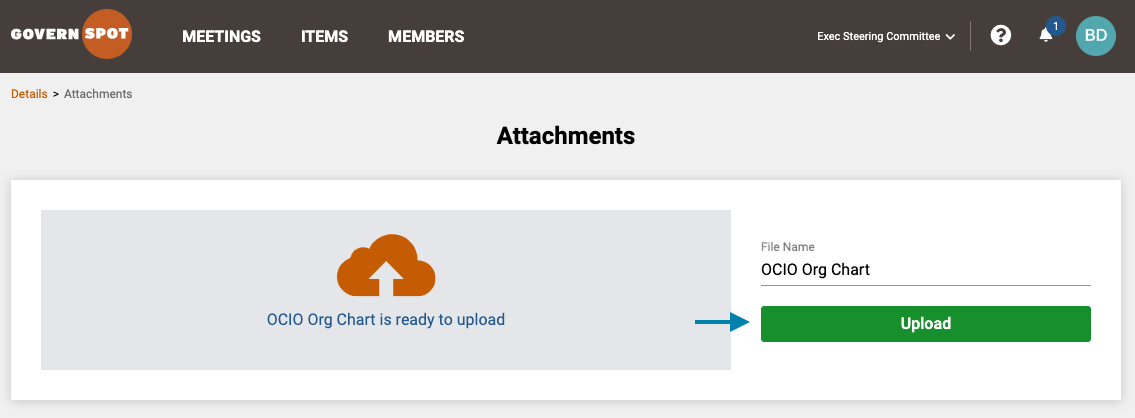
- Next, click the green 'Upload' button to complete the file upload process.
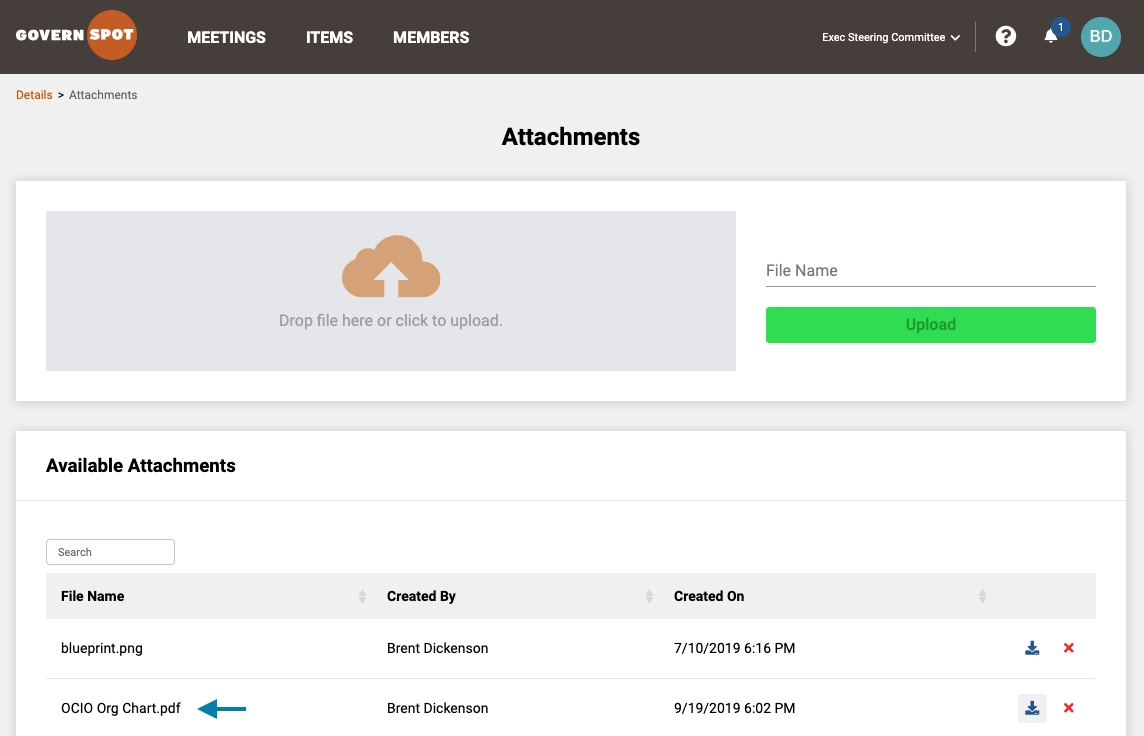
- Lastly, you can verify the file was added by reviewing the attachments list at the bottom of the Attachments page.
B. Deleting a File from a Group:
- First, access the group page related to the group file(s) you wish to delete a file from by clicking on the Groups list drop down in the upper right areas of the application, and clicking on the desired group.
- Next, click the folder icon in the upper right corner of the Group page.
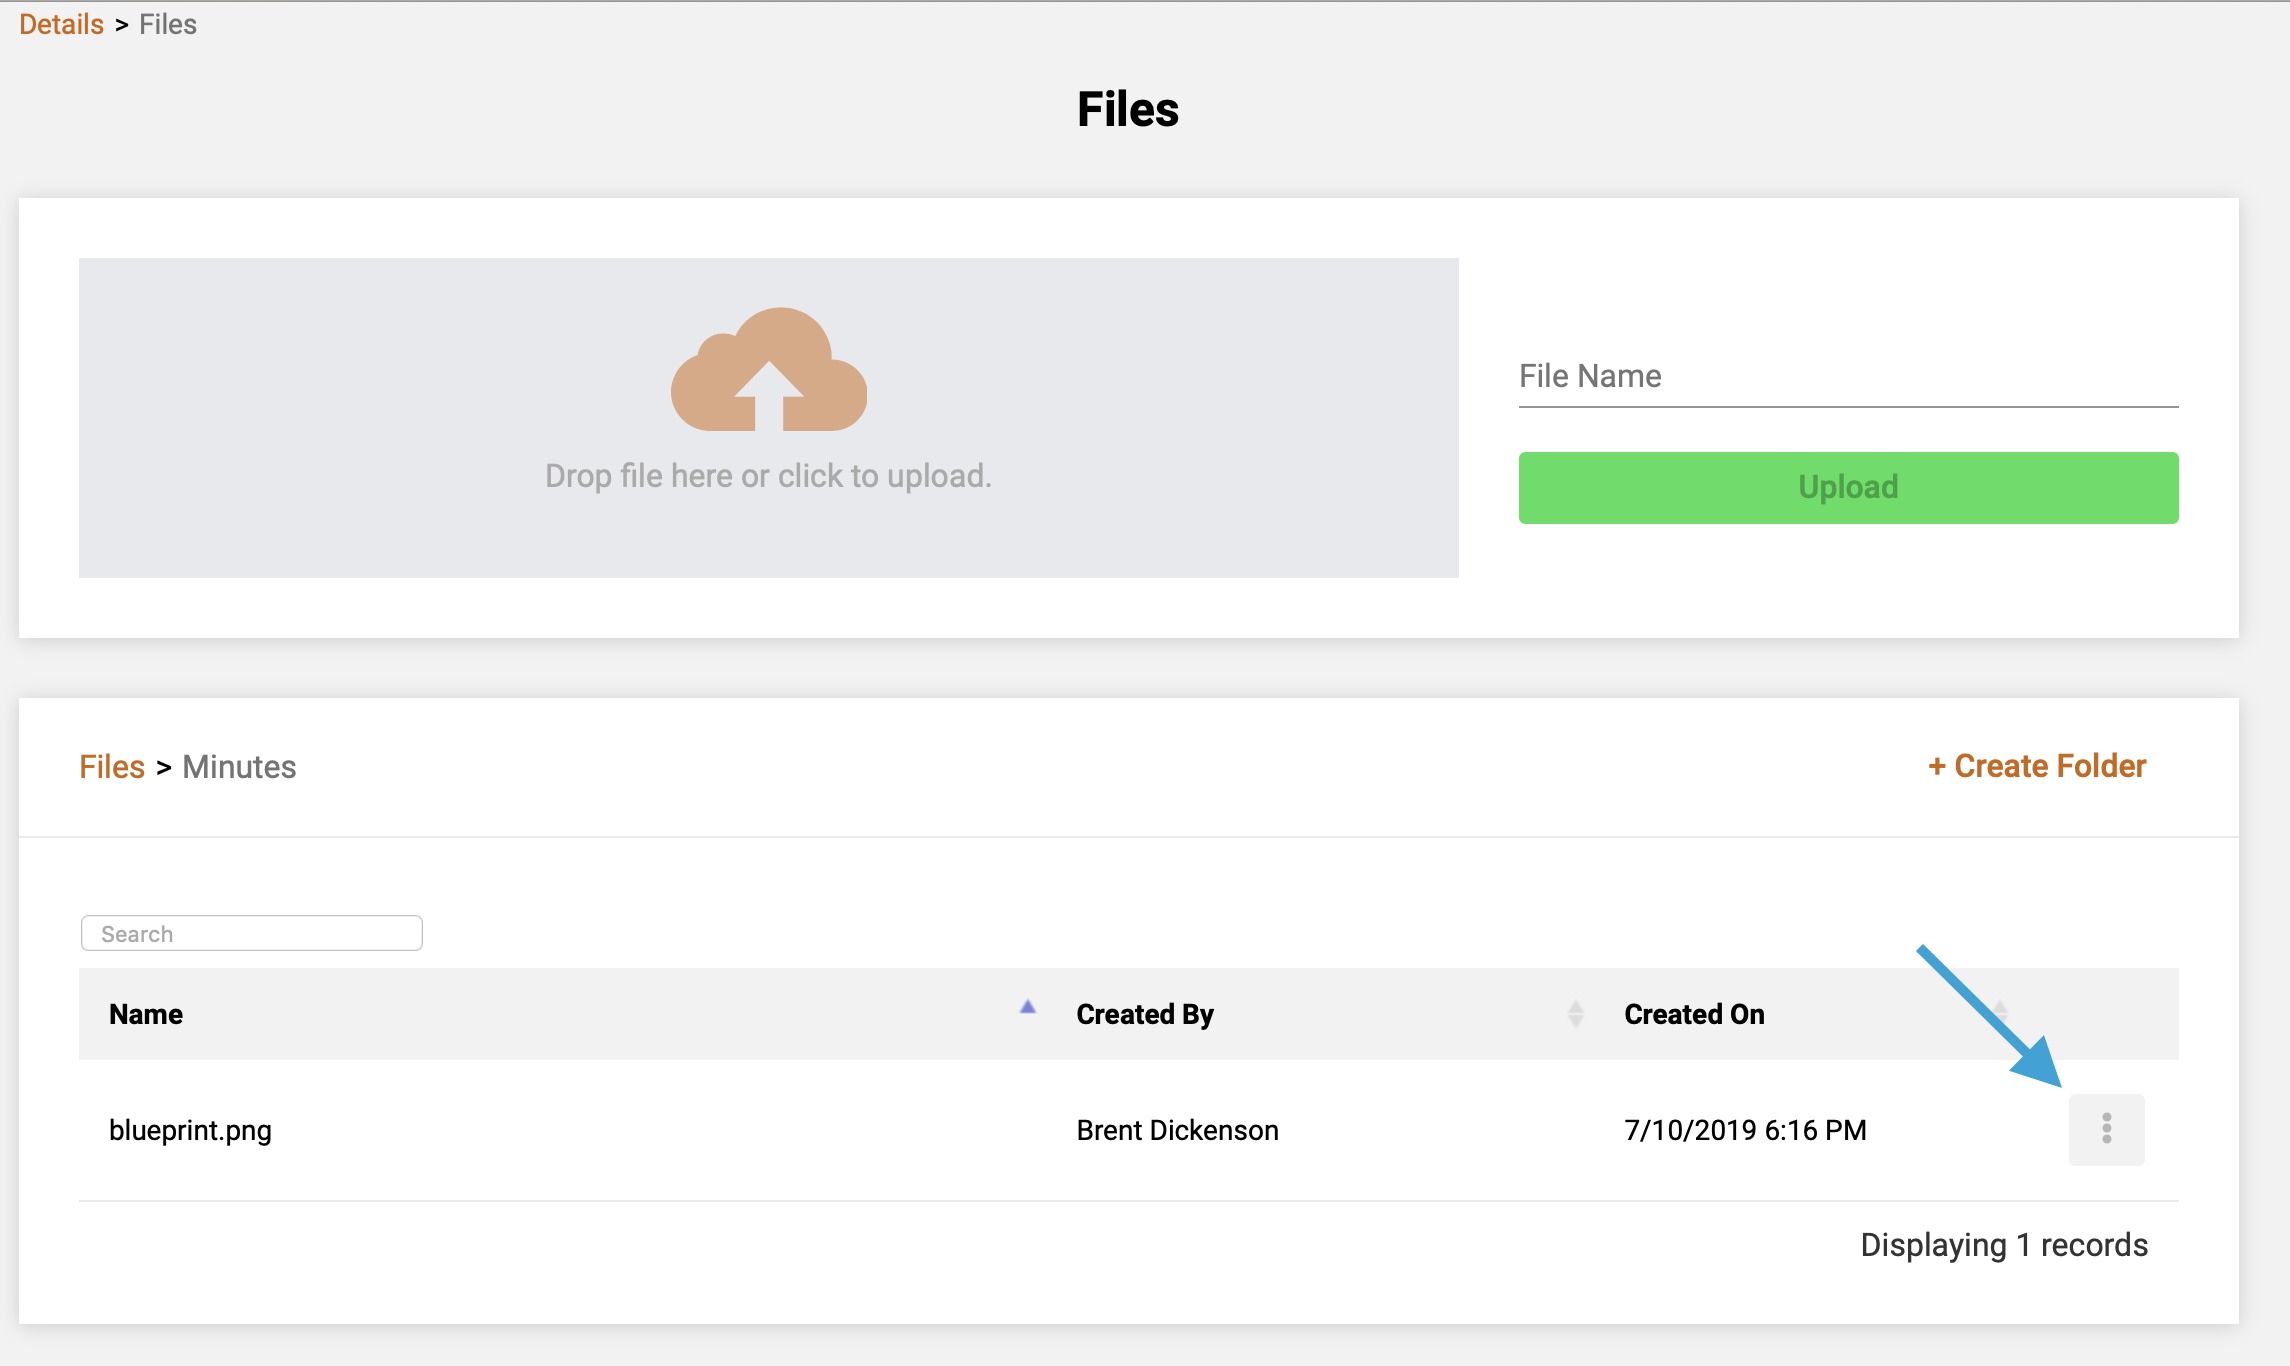
- Next, click the "3-dot" icon to the left of the file name you wish to delete. Note that you may need to first navigate to the folder where the file is stored.
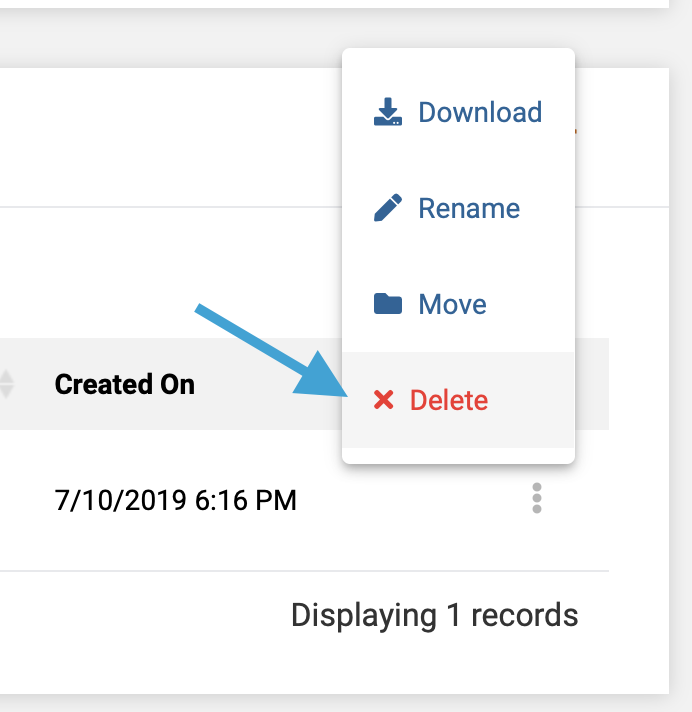
- Next, on the pop-up menu, click on the Delete icon to initiate deletion of the file.
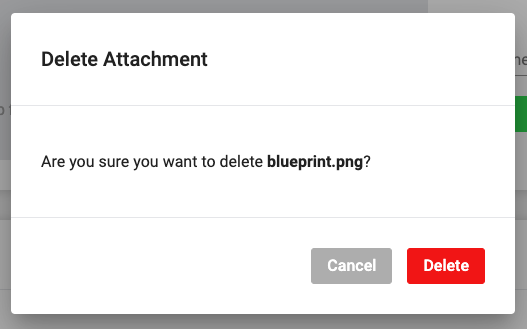
- Lastly, click the 'Delete' button on the confirmation dialogue to delete the file from the group.
Comments
0 comments
Article is closed for comments.