Important Notes:
- Only a User with administrative privileges may create new Groups.
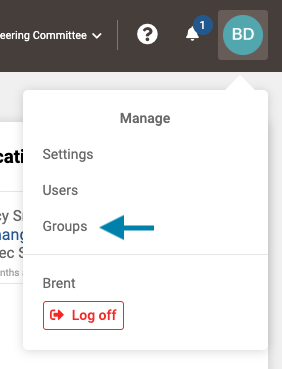
- First access the list of existing groups by clicking on your profile icon in the upper right corner of the application and choosing 'Groups' from the drop down menu that appears.
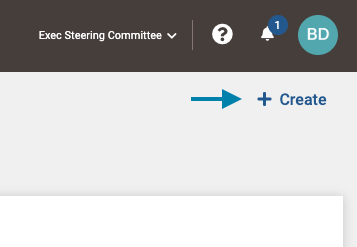
- Next, on the Groups list page that opens, click on the '+ Create' button in the upper right area of the screen to open the new group form.
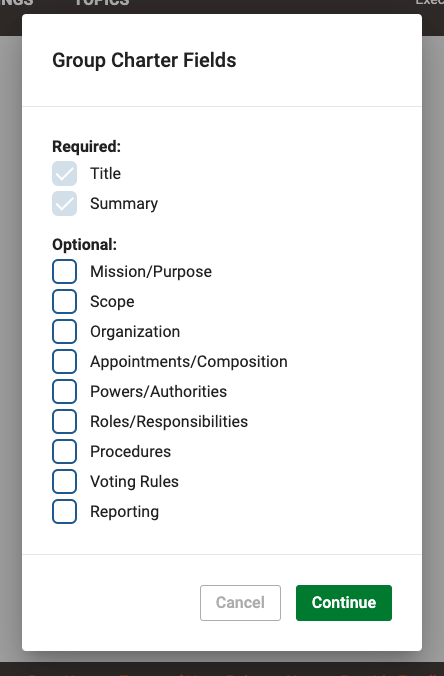
- Next, select the fields you wish to include in the Group charter, and click the green 'Continue' button.
Note: The selection of optional fields can also be added or removed after you have created the group. Instructions for doing so can be found here.
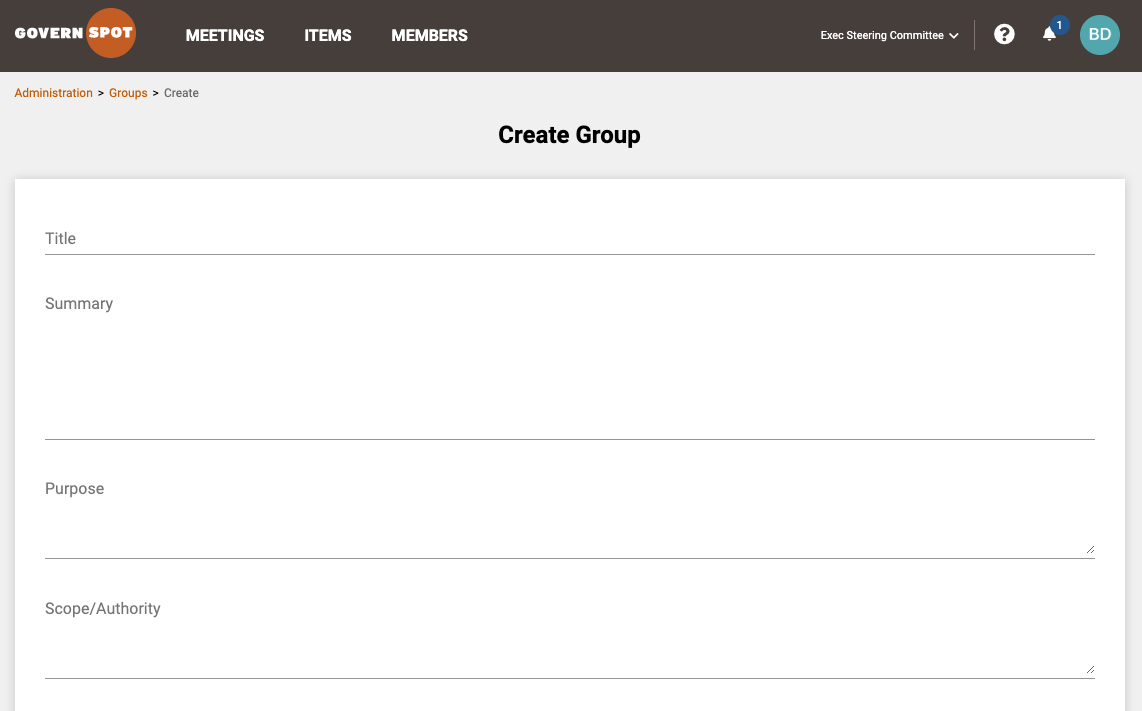
- Next, complete the group fields as desired and click the Save button at the bottom of the form to complete the group creation process.
Note: The Title and Summary fields are required. All other fields are optional.
- After group creation, the group page will open, allowing the administrator to add one or more members to a group. Instructions for adding members to a group can be accessed here.
Note: Any added user to the group assigned the role of Group Chair and/or Group Administrator will possess the rights to add further members and update group information as desired.
Comments
0 comments
Article is closed for comments.