Important Notes:
- Action items are group-specific and can be optionally associated with specific topics or meetings.
- You can also create action items from within meeting minutes. Instructions for doing this can be found here.
- When you assign an action item to a member, that member will also receive an email notification letting them know the action item is assigned to them. Additionally, the action item will appear on their dashboard under 'Pending Actions' when they log in.
1. Creating an Action Item from a Group Page
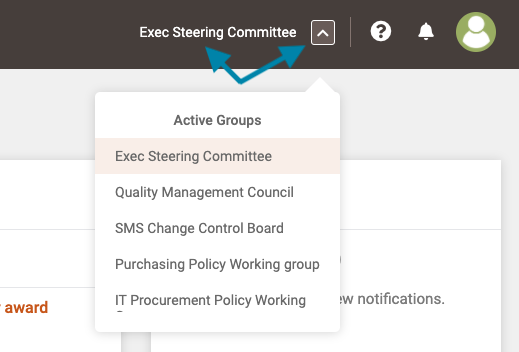
- First, click on the name of the group in the upper right corner of the application to open the group page or, if you wish to access a different group, click on the arrow box and select the desired group name.
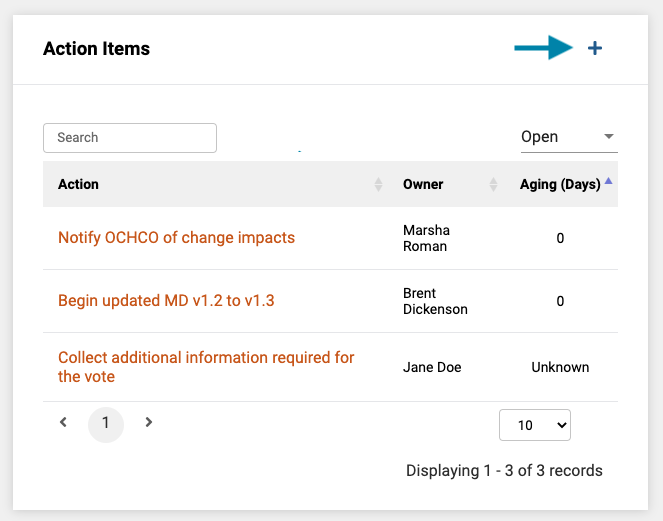
- Next, click on the '+' icon to open the new action item dialogue box.
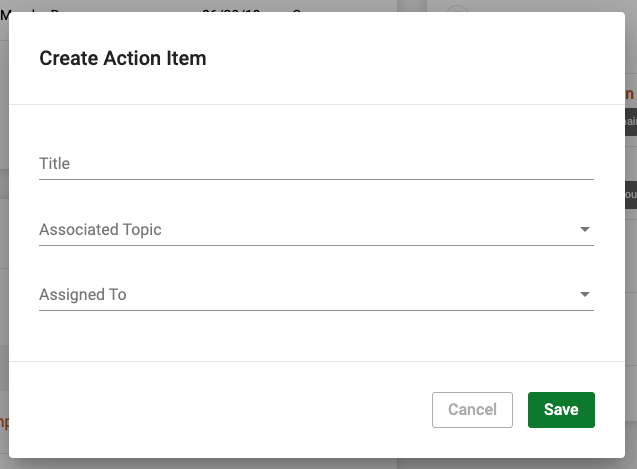
- Lastly, enter the desired action item text and optionally associate the action item with a group member. When finished, click the 'Save' button in the bottom of right corner of the dialogue box.
Note: When you assign an action item to a member, that member will also receive an email notification letting them know the action item is assigned to them. Additionally, the action item will appear on their dashboard under 'Pending Actions' when they log in.
2. Creating an Action Item from a Topic Page
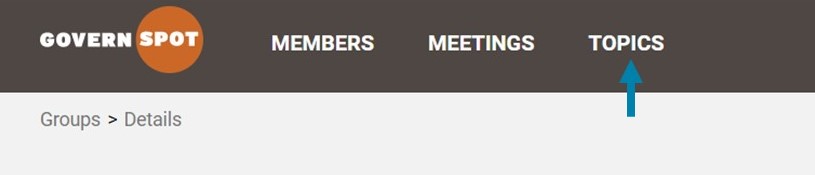
- First, click on the topics button in the header to go to the topics page.
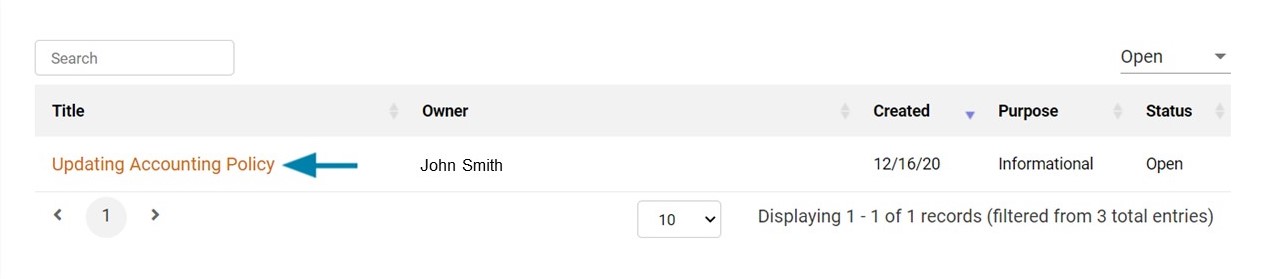
- Next, click on the topic title to go into the page.
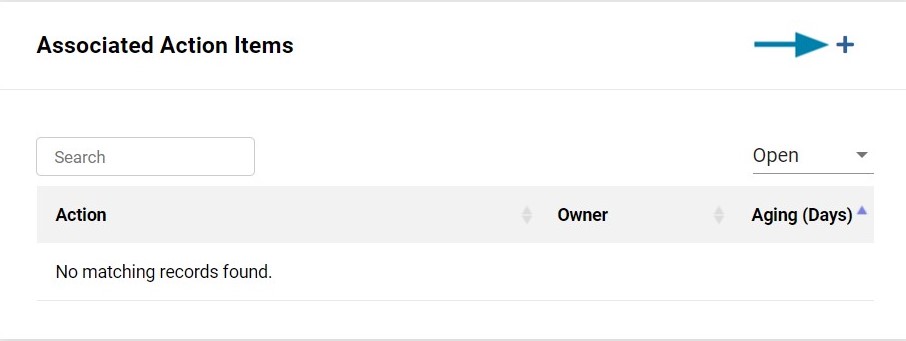
- Next, click on the '+' icon to open the new action item dialogue box.
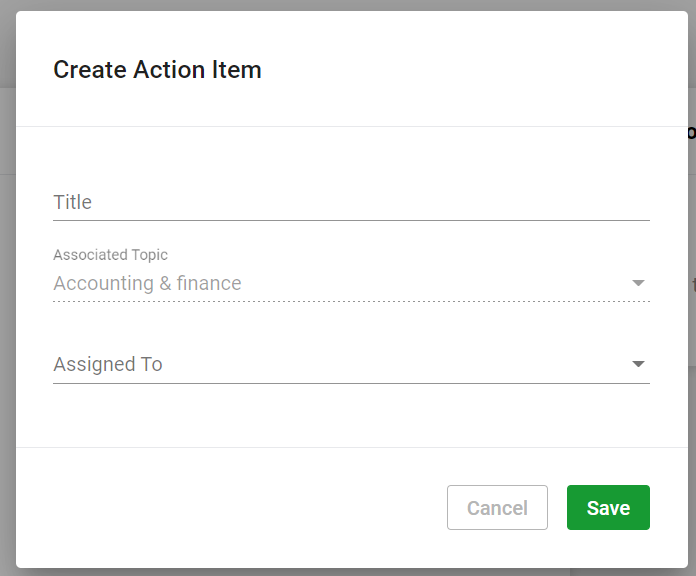
- Lastly, enter the desired action item text and optionally associate the action item with a group member. When finished, click the 'Save' button in the bottom of right corner of the dialogue box.
Comments
0 comments
Article is closed for comments.