Important Notes:
- Action items are considered a type of meeting minute which also possess a member assignment and indication of completion.
Creating an Action Item
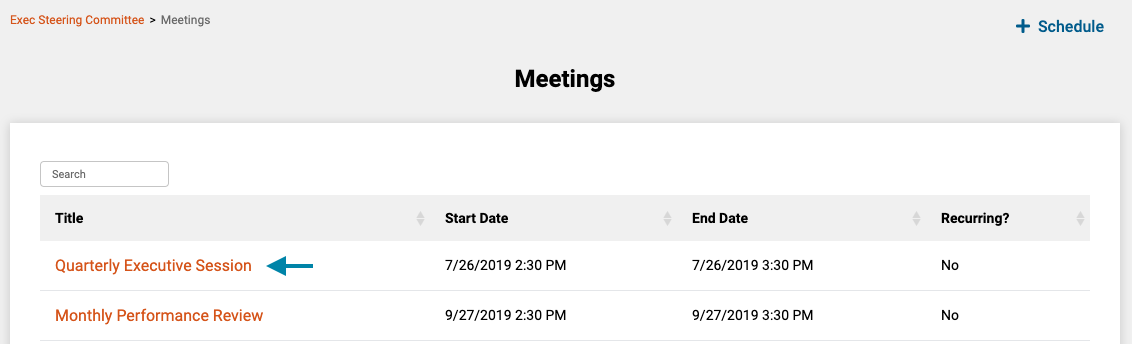
- First, access the meetings list for the current group by clicking on the 'Meetings' link in the header of the application.
Note: You can also access a Meeting by clicking on the meeting title in the 'Meetings' frame on the associated group's home page.

- Next, click on the title of the meeting you wish to add or edit an action item for, to open the meeting's home page.
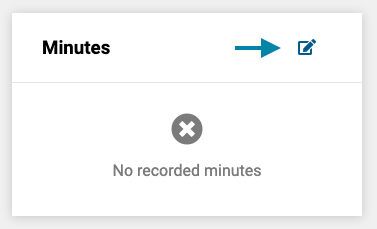
- Next, in the 'Minutes' frame on the meetings page, click the add/edit minutes icon to open the minutes form.
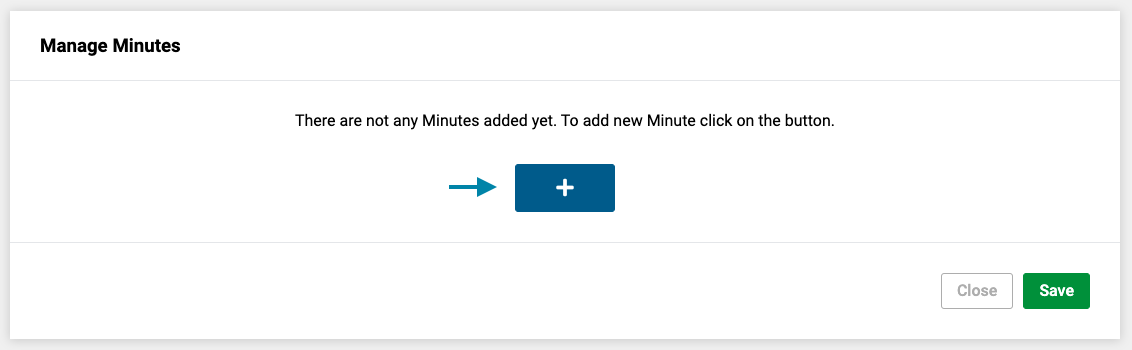
- Next, if this is the first time you are adding minutes or action items to the meeting, click on the '+' sign to add the action item to the meeting.
- Next, complete the form by entering in a brief summary of the action item, optionally associate the action item with the agenda topic, and click the 'Clipboard' icon next to the row to assign the action item to a member of the group.
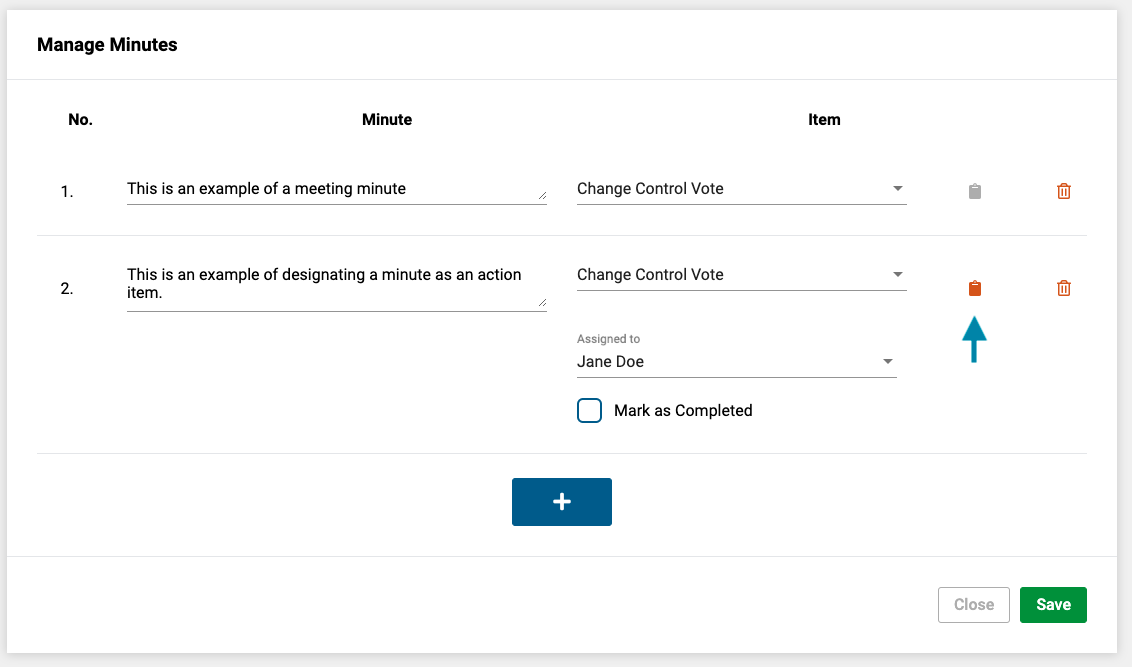
- Lastly, click the 'Save' button in the lower right corner of the form to save the action item and return to the meeting's home page.
Closing an Action Item
After an action item is created, the action item can be marked as completed by following the steps outlined above and checking the 'Mark as Completed' checkbox under the action item and saving the form.
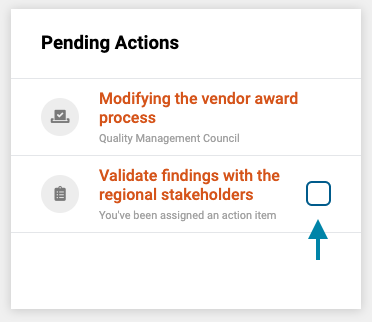
The member the action item is assigned to, will also see open action items in the 'Pending Actions' frame on the GovernSpot dashboard. The assigned member may close an action item directly from this list by clicking on the checkbox next to the item.
Comments
0 comments
Article is closed for comments.